So there I was admiring my good friend Nancy’s Christmas card from this year (which BTW I received on December 5th… Dude, she was on the ball!) And also admiring my friend Sarah Dime’s card from last year (handmade and SUPER cute) and I got to thinking; this can’t be too hard to do myself. My criteria were that I wanted it to be handmade (like Sarah’s card), look very classy yet simple (like Nancy’s card), and have a photo of the hub and I, like both inspiring cards. Another reason for the photo is that my dear friend Robyn told me the she never keeps christmas cards unless there are photos of the couple on them and to be quite honest... I wanted her to keep our card! Oh and one more thing, the handmade cards must cost less than printing photo cards at XXX’s Club.
So after outlining a tentative design in my head, I got up early Saturday morning and hit the XXX-Mart, printed 75 photos (the Hub and I have big families and lots of friends far far away that we hardly ever get to see). After happily and leisurely wandering through the aisles for about an hour and a half (something I NEVER could have done while shopping with the Hub), I not only had all the tools necessary for my project I’d come in UNDER budget by $10.00! I really had a TON of fun making these cards. The best part was that when my sister arrived for the holidays I put her to work and after a last minute run to the store for tape and after calling several relatives for addresses that were nowhere to be found. The project was a HUGE success!
So here’s my first attempt at a tutorial.
I used:
75 pgs Black Card Stock
75 pgs White Card Stock
75 3x5 photos
1 Holiday Themed Punch (I chose a snow flake)
2 rolls Double Sided Scotch tape
1 Red Sharpie Marker
1 Green Sharpie Marker
1 silver gel pen
1 Glue Stick
1 slide paper cutter
Start with 1 page of black cardstock.

Fold in half and smooth fold so card lays flat. (The side of the Sharpie Marker works GREAT for this.)

Punch a design into the front of the card and set aside for now. (This design will eventually show through as a white design.)

Using a paper cutter, cut one page of white card stock in half. (One half will be the Photo Mat and the other half will be the white insert inside the card.)

Stick photo to half page of white Card Stock.

With paper cutter, trim the cardstock around the photo leaving about a ½ in. boarder. Then stick matted photo to the front of the card above where the designs were punched.

Trim ½ in. from around the edge of the insert page. (I also punched an additional snowflake into the top center of the insert page.)

Glue or tape the insert page to the inside of the card.

Write a colorful message on the inside of the card.

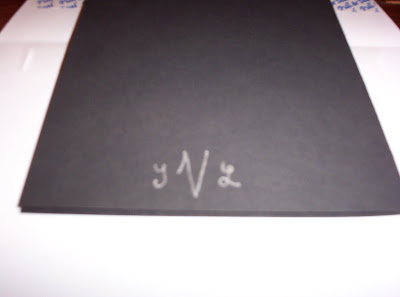
Add any additional personal touches. (I added our monogram in silver gel pen on the back. Oh so PRETTY!!!)

The card is now ready to be slipped into an envelope, addressed, stamped, and mailed off for friends and family to enjoy!
 MERRY CHRISTMAS!
Till next time,
Bon Voyage!

2 comments:
You're so creative! :) I loved the tutorial!!! :)
VERY CUTE!!! Lili you're creativeness is getting better and better. Love you girl!
Post a Comment